Dirt cup fudge (vegan & gluten free)

Dirt Cup Fudge (Vegan & Grain-Free)
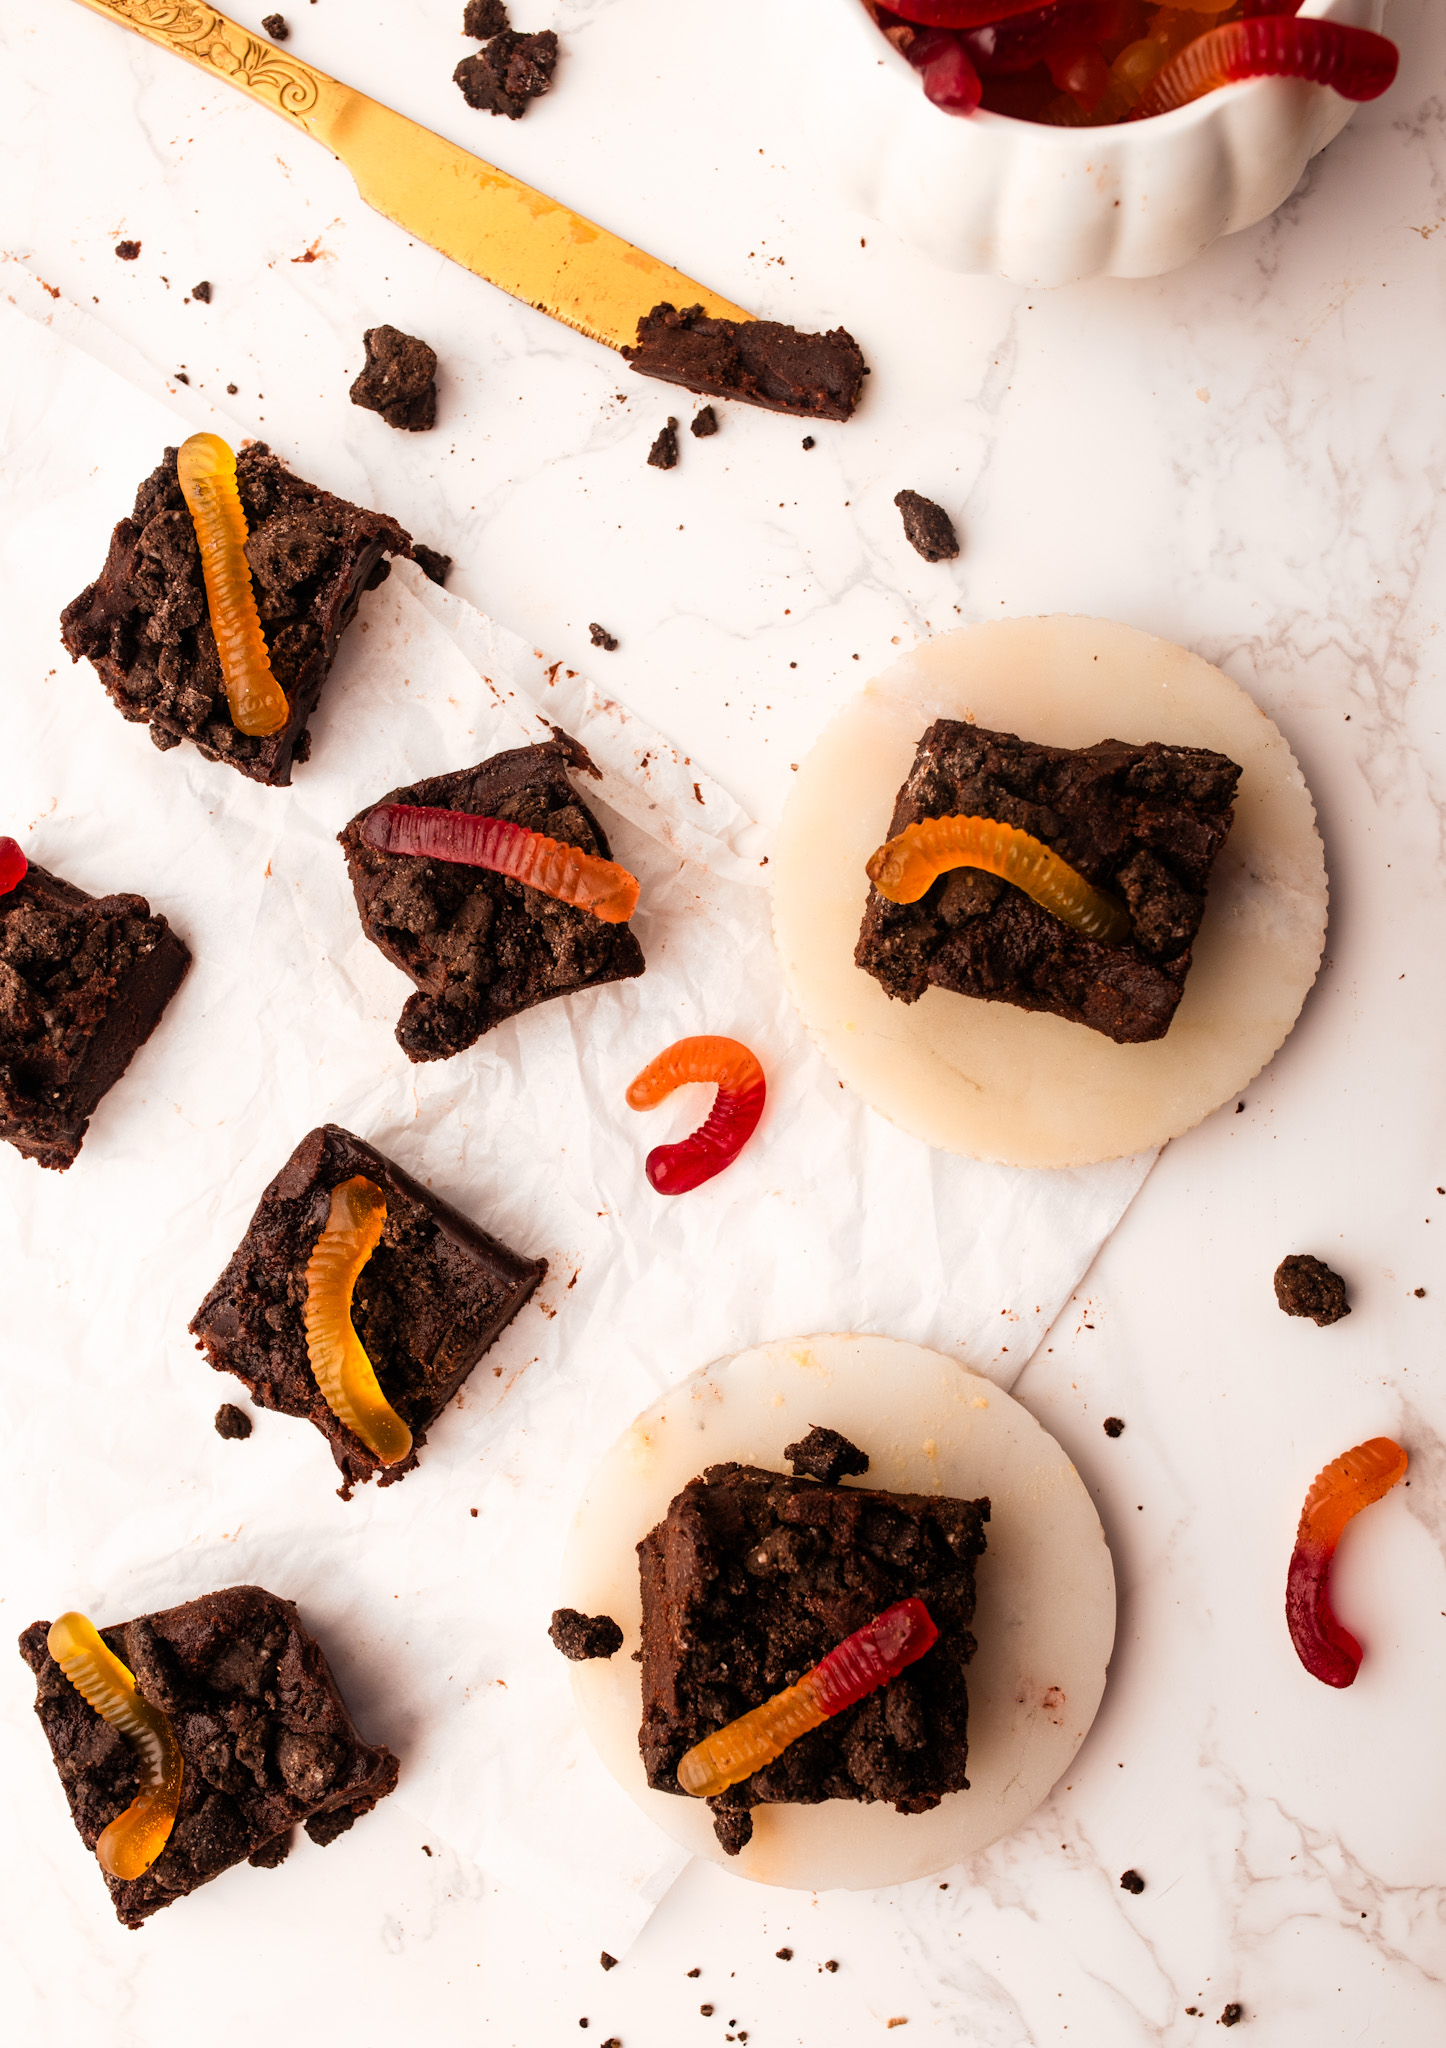
Halloween is right around the corner, and there’s nothing like a themed treat to get you into the spooky spirit! If you grew up loving those classic dirt cups made with chocolate pudding, crushed cookies, and gummy worms, you’re going to love this fun and healthier twist—Dirt Cup Fudge! This recipe combines the nostalgic flavors of dirt cups but transforms them into a rich, creamy, chocolatey fudge that’s both vegan and grain-free.
Not only is this fudge incredibly easy to make, but it also packs in clean ingredients like coconut flour, almond or cashew butter, and maple syrup. The dirt cookie crumble topping adds the perfect crunch, while the gummy worms give it that Halloween flair we all know and love. Best of all, it’s freezer-friendly and can be prepped in just a few minutes—making it a quick and fun dessert for Halloween parties, family get-togethers, or even just as a spooky treat for yourself!
Why You’ll Love Dirt Cup Fudge:
- Easy to Make: This recipe comes together in just 5 minutes of prep time. Simply mix, pour, sprinkle, and freeze!
- Vegan & Grain-Free: Made with wholesome ingredients, this fudge is perfect for those with dietary restrictions or anyone looking to enjoy a healthier Halloween treat.
- Fun & Festive: The dirt crumble and gummy worms give this fudge a playful, spooky vibe—perfect for Halloween parties or kid-friendly snacks.
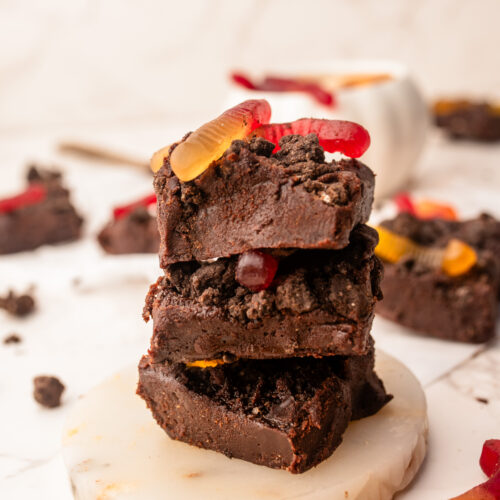
- Rich & Creamy: The combination of almond or cashew butter, coconut milk, and cocoa powder creates a fudge that’s decadently smooth, rich, and deeply chocolatey.
- Customizable: Don’t have almond or cashew butter? Try using sunbutter or tahini for a nut-free version! Plus, you can use any dye-free gummy worms to keep this treat as natural as possible.


Dirt Cup fudge
Ingredients
For the Fudge (Pudding Layer):
- 1/4 C melted dark chocolate chips
- 1/3 cup coconut flour, or 2/3 cup almond flour for a softer texture
- 1/4 cup raw cacao powder or cocoa powder
- 2/3 cup creamy almond or cashew butter, substitute with sunbutter or tahini for a nut-free option
- 1/4 cup full-fat coconut milk
- 6-7 tablespoons maple syrup, to taste
- 5 tablespoons refined coconut oil, melted
- 1 teaspoon vanilla extract
For the Dirt Cookie Crumble:
- 1/4 cup coconut flour
- 2-3 tablespoons dark cocoa powder
- 1/4 cup softened coconut oil
- 1/4 cup maple syrup
For the Topping:
- Dye-free gummy worms, 8-10
Instructions
Step 1: Prepare the Pan
- Line a large loaf pan with parchment paper. If you have a nonstick, pre-portioned squares pan, that’s even better for easy cutting and serving. Set the pan aside.
Step 2: Make the Fudge (Pudding Layer)
- In a microwave-safe bowl, combine the almond or cashew butter and melted coconut oil. Heat in the microwave for 20-30 seconds, just until they are fully melted and combined. Stir well to ensure the mixture is smooth.
- Next, in a large bowl, whisk together the coconut flour (or almond flour if using), raw cacao or cocoa powder, coconut milk, maple syrup, and vanilla extract. Add the melted almond/cashew butter and coconut oil mixture to the bowl and stir until everything is well combined. The fudge mixture should be thick but pourable.
Step 3: Prepare the Dirt Crumble
- In a separate bowl, mix together the coconut flour, dark cocoa powder, softened coconut oil, and maple syrup until a crumbly texture forms. Spread the mixture out on a small baking sheet and toast it in the oven at 350°F for 10 minutes, stirring halfway through. Let the crumble cool completely. This step adds an extra level of texture and flavor to your dirt crumble!
Step 4: Assemble the Fudge
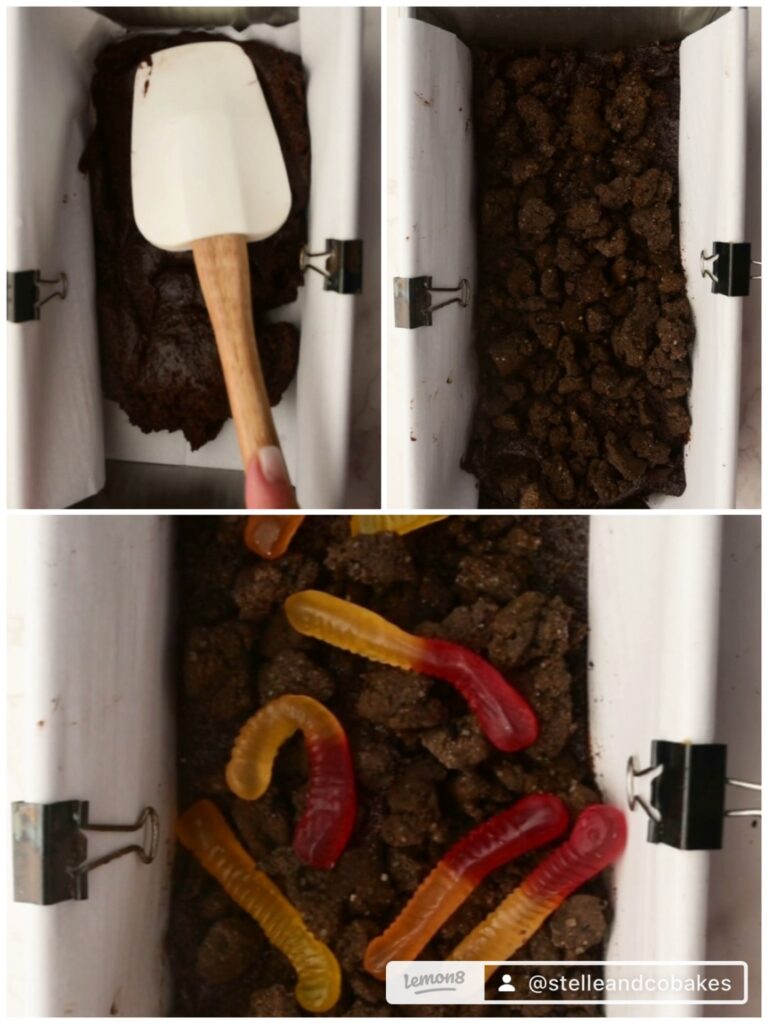
- Pour the fudge mixture into your prepared pan, spreading it evenly with a spatula. Sprinkle the dirt cookie crumble generously over the top of the fudge layer. Press the crumble down gently to make sure it sticks. For the final touch, press gummy worms into the top of the fudge for that classic dirt cup look.
Step 5: Freeze & Set
- Place the pan in the freezer for 30-60 minutes, or until the fudge is completely set and firm. Once the fudge is fully solid, remove it from the freezer and lift it out of the pan using the parchment paper.
Step 6: Slice & Serve
- Using a sharp knife, cut the fudge into 8 bars or squares. Serve immediately, or store the fudge in an airtight container in the fridge for up to a week. For longer storage, you can keep it in the freezer for up to a month—just allow it to thaw slightly before serving.
